
To get quick, repeatable backlash measurements, start by organizing your tools and preparing a clean workspace. Properly select a flat, stable contact point on the gear, ensuring the dial indicator is securely mounted and aligned perpendicular to the surface. Zero the indicator carefully and verify calibration before measuring. Maintain steady contact pressure and double-check stability often. Following these steps guarantees consistent results—if you want to master each detail, keep reading for expert tips.
Key Takeaways
- Properly calibrate and zero the dial indicator before measurement to ensure accuracy and consistency.
- Securely mount the dial indicator with firm, stable fixtures to prevent movement during testing.
- Select stable, flat contact points on gear teeth, avoiding edges and irregular surfaces.
- Maintain consistent contact pressure throughout the measurement process to reduce variability.
- Perform multiple readings at the same contact point to verify repeatability and identify measurement drift.
Qnkaa Dial Indicator with Magnetic Base Holder Fine Adjustable Long Arm 0-1" Magnetic Dial Indicator Professional Dial Gauge 0.001"
Qnkaa Dial Gauge Indicator : Measuring Range from 0-1". Resolution up to 0.001".
As an affiliate, we earn on qualifying purchases.
As an affiliate, we earn on qualifying purchases.
Why Proper Dial Indicator Setup Is Key for Accurate Backlash Measurement
Proper dial indicator setup is essential because even small errors can lead to inaccurate backlash measurements. When measuring gear tooth backlash, precision is critical to ensure proper gear operation and longevity. If the dial indicator isn’t correctly aligned or calibrated, you risk misreading the gear tooth movement, which affects measurement accuracy. A stable, secure setup minimizes movement and vibration, helping you obtain consistent readings. Proper contact point positioning ensures the dial indicator measures the actual gear tooth movement rather than extraneous slack. Remember, even slight misalignments or improper contact can distort results, compromising the accuracy you need. Taking the time to set up your dial indicator correctly guarantees you capture true backlash values, ultimately leading to better gear performance and longer service life. Additionally, understanding content formats can help you present your measurement data more clearly and effectively.
Qnkaa Dial Indicator with Magnetic Base Holder Fine Adjustable Long Arm 0-1" Magnetic Dial Indicator Professional Dial Gauge 0.001"
Qnkaa Dial Gauge Indicator : Measuring Range from 0-1". Resolution up to 0.001".
As an affiliate, we earn on qualifying purchases.
As an affiliate, we earn on qualifying purchases.
Gather Your Tools and Prepare Your Workspace

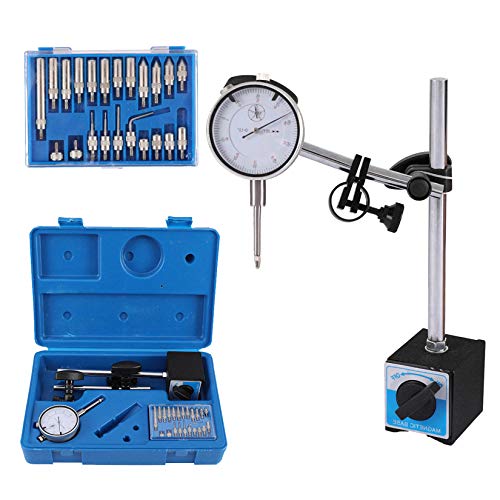
Before you begin setting up your dial indicator, gather all the necessary tools and organize your workspace. Confirm you have a reliable dial indicator, calibration procedures, and any mounting accessories ready. A well-organized workspace helps prevent misplacement and errors during setup. Clear your surface of clutter and designate a specific area for your tools to keep everything within reach. Check that your dial indicator is properly calibrated before use to guarantee accurate readings. Proper workspace organization minimizes distractions and streamlines the setup process, saving you time and reducing mistakes. Taking these preparatory steps ensures a smoother setup, leading to more consistent and repeatable backlash measurements. Additionally, best gear and knife roundups for smart shopping can help you select quality tools and accessories to enhance your setup process. Focusing on piercing care and hygiene can prevent complications that might delay your work. Being aware of sound design skills can also contribute to understanding the importance of precise measurement and setup in technical tasks. Ensuring proper calibration procedures are followed is crucial for achieving accurate and repeatable results. Properly workspace ergonomics can also contribute to maintaining focus and reducing fatigue during detailed measurements. Focused preparation sets a solid foundation for precise gear assessment and excellent results.

SUXING Dial Test Indicator Stems with Knurled Clamp Ring Dovetail Grooved Stem (6mm Diameter Stem)
Dial Test Indicator Stems with Knurled Clamp Ring, ø6mm Dovetail-Grooved Stem
As an affiliate, we earn on qualifying purchases.
As an affiliate, we earn on qualifying purchases.
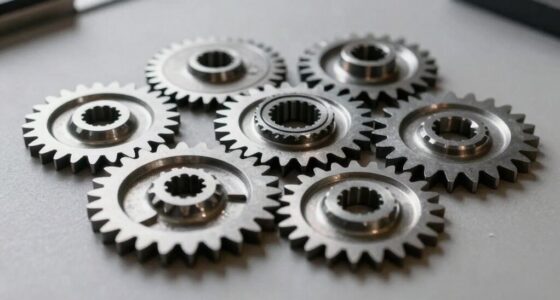
Select the Best Contact Spot on the Gear

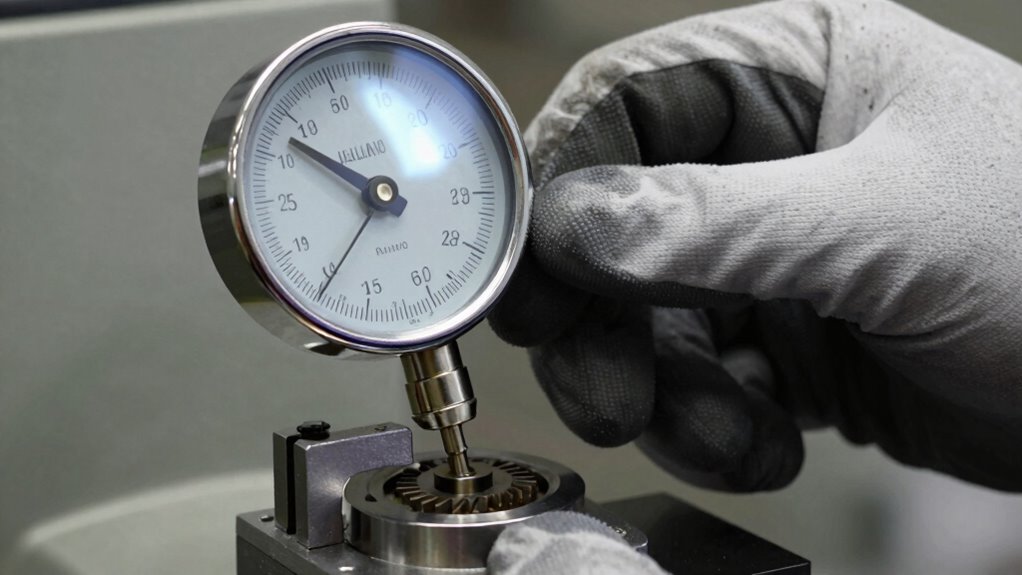
You should focus on finding high contact areas on the gear, where the dial indicator can get an accurate reading. Avoid placing the indicator on edges or corners, as they can give misleading results. Selecting the right spot guarantees precise measurements and reliable setup. Additionally, understanding consumer product trends can help you choose the most suitable tools for your measurement needs. Being aware of drone safety regulations can also inform your measurement practices to ensure compliance and safety during your setup process. Recognizing the importance of cultural artifacts like traditional masks can inspire aesthetic choices in your workspace, creating a more harmonious environment. Moreover, considering measurement accuracy can lead to better troubleshooting and maintenance outcomes. Ensuring proper tool calibration is essential for consistent and trustworthy readings, especially in critical applications.
Identify High Contact Areas
Identifying high contact areas on a gear is vital for accurate dial indicator setup. These areas experience the most gear contact during operation, providing consistent points for measurement. To find them, rotate the gear slowly and observe where the contact pattern is most stable and pronounced. Focusing your dial indicator on these high contact spots ensures you’re measuring the gear’s true position, which directly impacts measurement accuracy. Avoid areas near edges or corners, as they can produce false readings due to uneven contact. By selecting the most consistent contact points, you minimize variability and improve the reliability of backlash measurements. Conducting thorough contact pattern analysis helps identify these optimal measurement spots, further enhancing your setup accuracy. Additionally, understanding the gear contact pattern aids in diagnosing wear issues that can affect measurement consistency.
Avoid Edge and Corner
Selecting the right contact spot on a gear involves avoiding edges and corners, which can lead to inaccurate measurements. Edges and corners are often uneven and can cause inconsistent contact with your dial indicator, compromising measurement accuracy. Instead, aim for the middle of a gear tooth where the surface is flat and stable. This practice echoes the importance of vinyl record preservation by emphasizing careful handling and precise positioning for the best results. It ensures the dial indicator makes firm, consistent contact, giving you reliable readings. Proper contact reduces the risk of slipping or false readings caused by surface irregularities. By choosing a smooth, flat section of the gear tooth, you improve measurement precision and obtain repeatable backlash measurements. Additionally, understanding how to properly calibrate your measuring tools can significantly enhance the accuracy of your backlash readings. Consistently selecting the optimal contact point is crucial for maintaining measurement consistency and achieving high-quality results. Practicing these techniques helps develop measurement accuracy over time and ensures dependable backlash assessments.
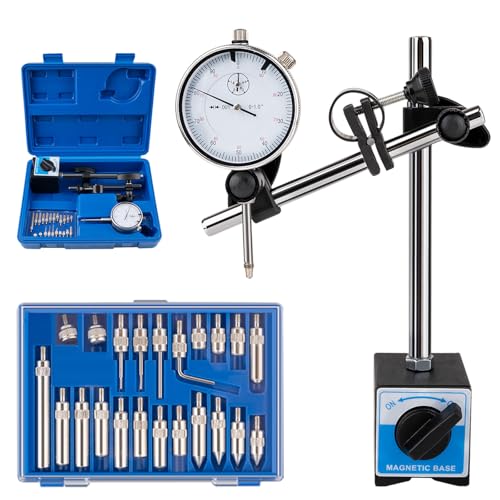
Rpeconu Dial Indicator with Magnetic Base, 0-1"×0.001" Precision Dial Test Indicator Set, Adjustable Long Arm Magnetic Dial Indicator Base Holder for Workshop, Lab & Mold Making
Precise Measurement & Secure Fixation: The dial gauge indicator offers 0-1" measurement with 0.001" precision, 140-160 lbs magnetic…
As an affiliate, we earn on qualifying purchases.
As an affiliate, we earn on qualifying purchases.
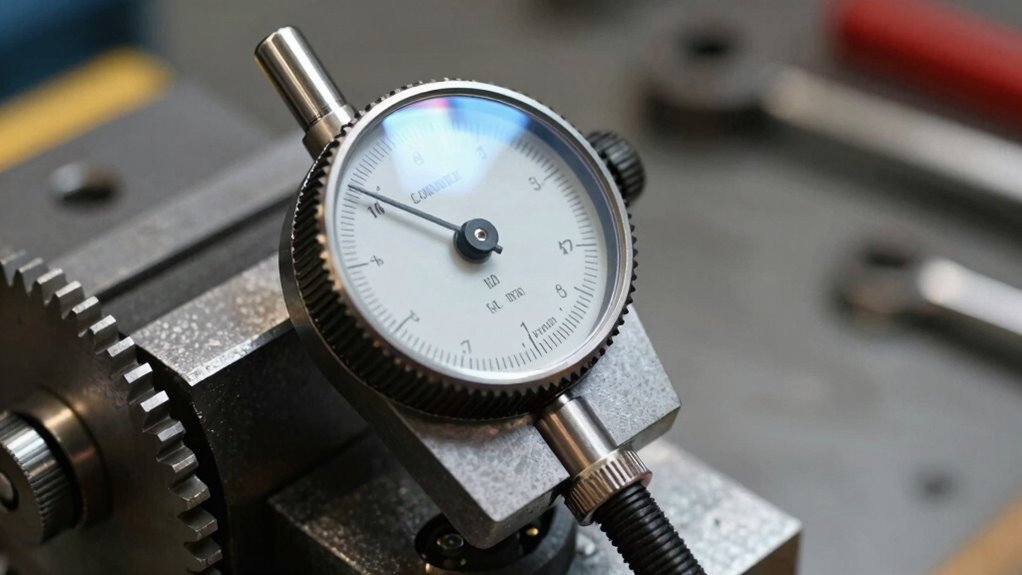
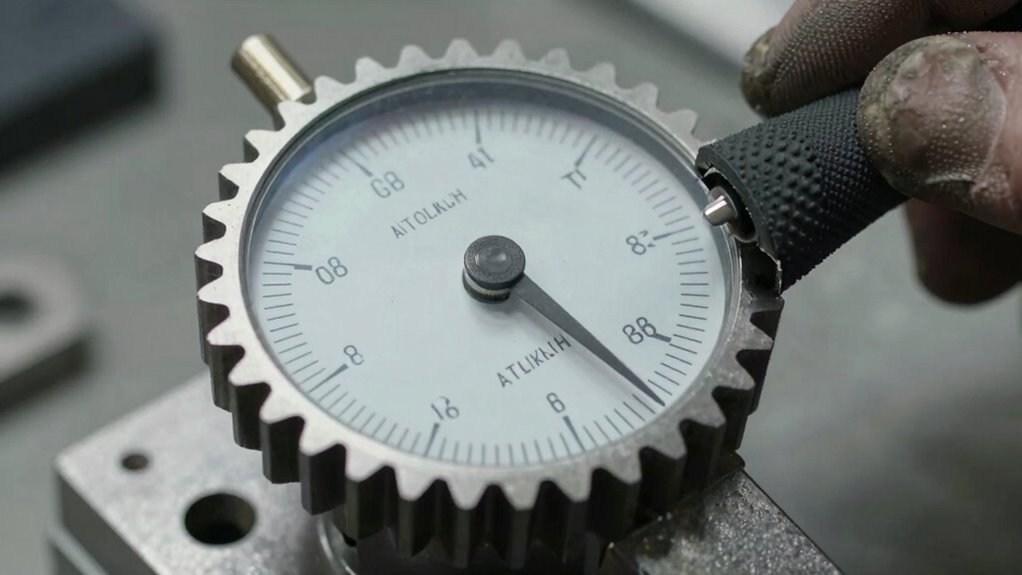
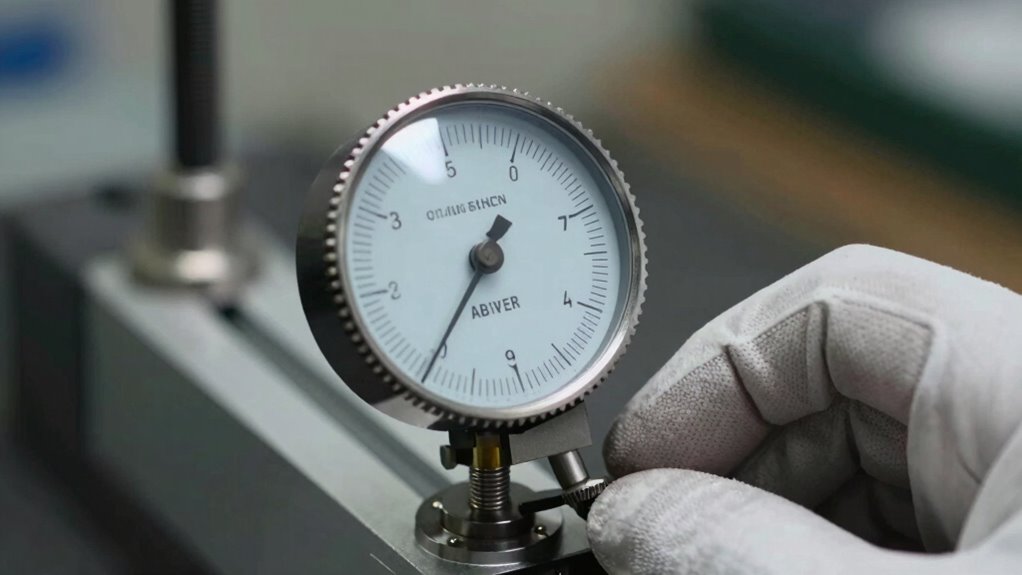
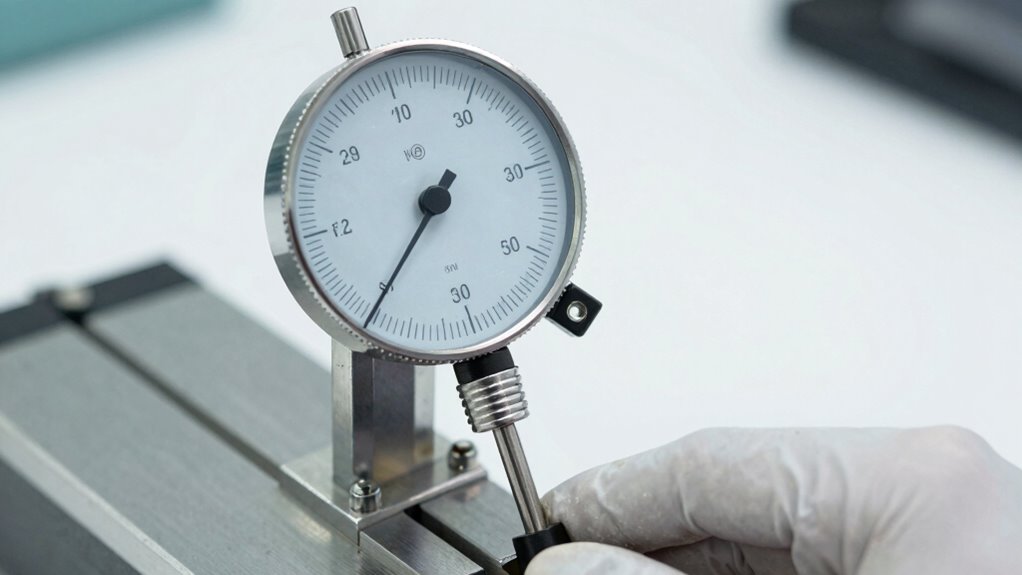
Secure Your Dial Indicator for Stable Measurements
To guarantee precise and uniform readings, you must firmly attach your dial indicator in position. Verifying proper clamp tension is essential; too tight can distort measurements, while too loose causes instability. Adjust the clamp tension until the indicator feels secure but free of unnecessary pressure. Consistent clamp tension helps maintain stability during measurements, reducing errors. Before securing the indicator, review calibration procedures to confirm it’s functioning correctly. Proper calibration ensures the readings are accurate and reliable over time. Once mounted, gently tap the indicator to check for movement; if it shifts, readjust clamp tension. A stable setup minimizes measurement discrepancies and improves repeatability, making your backlash readings more trustworthy and efficient. Additionally, understanding the importance of measurement stability can help prevent errors and ensure consistent results over multiple readings. Maintaining a rigid setup is crucial for achieving consistent and dependable measurements during your process. Ensuring that your setup is free from vibrations or movement will further enhance the accuracy and reliability of your measurements. Recognizing the role of energetic alignment in your workspace can also contribute to more focused and precise measurement practices. Paying attention to environmental factors such as temperature and airflow can further support measurement consistency and accuracy.
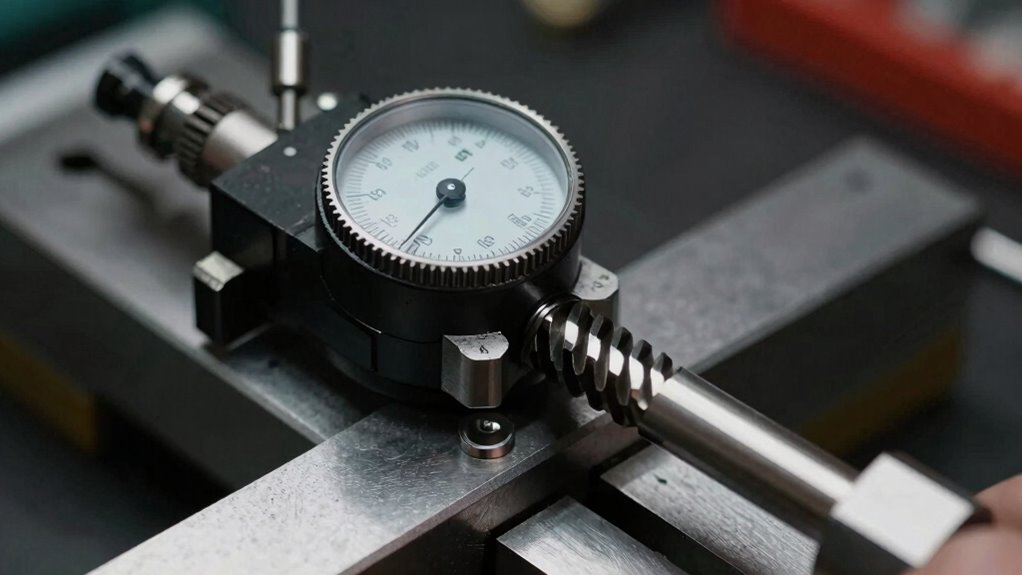
Zero Your Dial Indicator for Reliable Backlash Readings
Once you’ve securely mounted your dial indicator, the next step is to zero it for accurate backlash measurements. Start by gently moving the indicator’s needle to the zero mark, ensuring it’s aligned with the dial’s calibration procedures. Confirm the zero point by lightly tapping the indicator or applying minimal contact pressure to prevent false readings. Regular calibration procedures help maintain measurement accuracy, so consider periodically verifying your setup with a known standard. Maintenance tips include keeping the dial face clean and free of dust or debris, which can affect readings. Always double-check that the indicator remains stable after zeroing. Proper zeroing ensures your backlash readings are consistent and reliable, saving you time and reducing errors in your measurements.
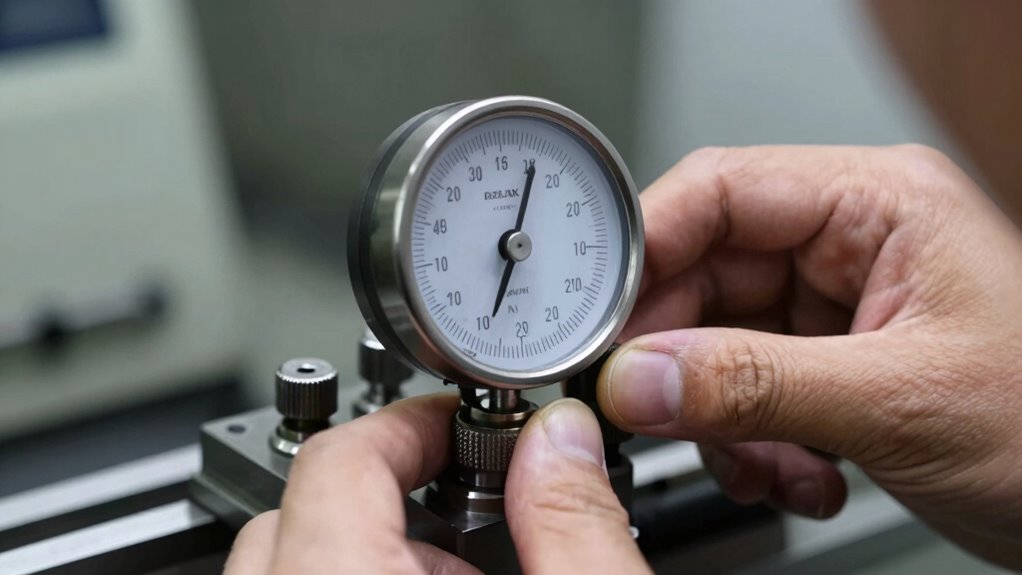
Apply Correct Contact Pressure During Measurement
Applying the correct contact pressure is crucial for obtaining accurate backlash readings with your dial indicator. Too much pressure can compress parts, leading to inconsistent measurements, while too little results in unreliable readings. Aim for steady, gentle contact that maintains measurement consistency. To help, consider this table:
| Contact Pressure Level | Effect on Measurement |
|---|---|
| Light | Inconsistent, unreliable |
| Moderate | Ideal, consistent |
| Heavy | Distorts readings |
| Excessive | Damages parts, false readings |
| Too light | No meaningful contact |
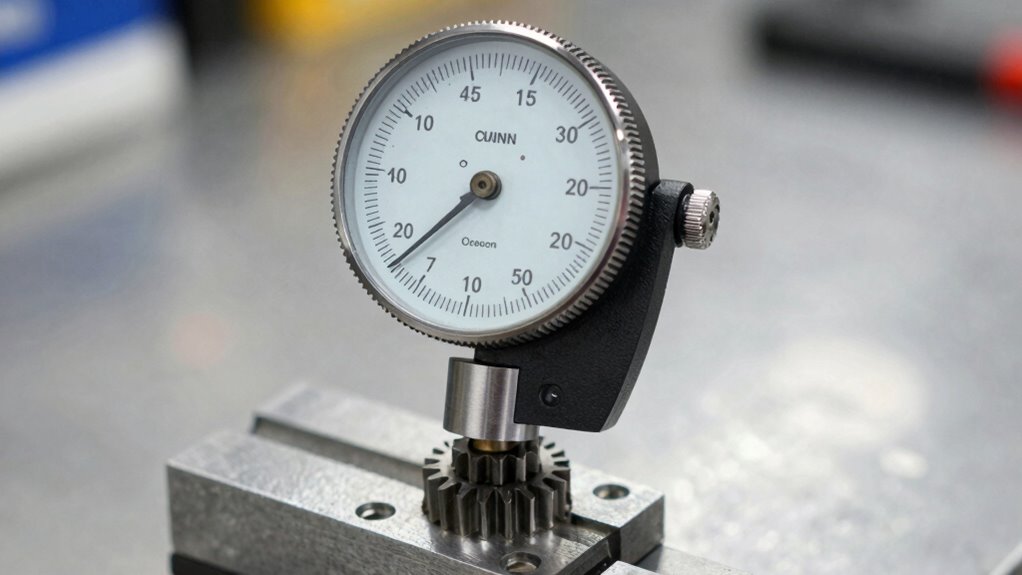
Check and Adjust Your Dial Indicator’s Alignment
Ensuring your dial indicator is properly aligned is essential for accurate measurements. Misalignment can cause incorrect readings of gear tooth backlash or other details, compromising measurement accuracy. To check alignment, gently move the indicator’s probe across the gear tooth surface, observing the needle’s motion. If the needle wavers or shows inconsistent readings, adjust the indicator so it sits squarely against the gear tooth, ensuring it’s perpendicular to the surface. Secure the indicator firmly once aligned. Proper alignment minimizes measurement errors caused by angular discrepancies, providing consistent, reliable backlash readings. Always verify that the indicator’s movement is smooth and free from wobble. Correct alignment is a simple yet vital step to guarantee your measurements are precise, repeatable, and truly reflective of the gear tooth’s true position.
Verify Your Setup for Consistent Results
Before taking your measurements, double-check that your dial indicator setup is stable and properly secured. This guarantees measurement consistency and minimizes errors. Perform calibration procedures regularly to confirm the dial indicator’s accuracy, especially if it’s been moved or bumped. Use a known reference or test gauge to verify that the readings are correct. Consistent positioning and secure mounting prevent shifts during measurements. Confirm that the dial indicator is zeroed correctly before each use. These steps help maintain reliable data and reduce the need for repeated tests. By verifying your setup regularly, you ensure that your backlash readings are both accurate and repeatable, saving you time and improving overall precision. Proper setup verification is a critical step for dependable, consistent results.
Troubleshoot Common Setup Mistakes
If your dial indicator isn’t providing accurate readings, check for common setup mistakes first. Make sure the indicator is properly oriented, securely mounted, and making firm contact with the surface. Addressing these issues can often resolve measurement inaccuracies right away.
Incorrect Indicator Orientation
Incorrect indicator orientation is a common mistake that can lead to inaccurate measurements. If your dial indicator isn’t aligned properly with the gear tooth, you’ll get inconsistent backlash readings. Always confirm the indicator is positioned so that its plunger moves directly in line with the gear tooth’s surface. Misaligned indicator orientation can cause false readings because the movement may not accurately reflect the actual backlash. Before taking measurements, double-check that the indicator’s face is perpendicular to the gear tooth’s surface and that it’s firmly mounted. Proper indicator orientation ensures you get precise, repeatable results. Remember, a slight tilt or misalignment can skew your data, making it harder to identify real gear issues and increasing setup time.
Loose Mounting Issues
A loose mounting of the dial indicator can cause significant measurement errors, making it look like there’s more or less backlash than there actually is. This issue compromises mounting stability and disrupts fixture alignment, leading to inconsistent readings. To prevent this, ensure the indicator is firmly secured to its mounting surface. Check for any play or movement after tightening. Proper fixture alignment is vital; misaligned fixtures can magnify errors caused by loose mounts. Use the following table to verify mounting stability and fixture alignment:
| Issue | Solution | Impact |
|---|---|---|
| Loose clamp or screw | Tighten securely, avoid over-tightening | Eliminates false backlash readings |
| Misaligned fixture | Re-align the indicator fixture | Ensures consistent contact and readings |
| Inadequate support | Use stable mounting brackets | Prevents shifts during measurement |
| Worn mounting parts | Replace worn or damaged components | Restores mounting stability |
Poor Contact Technique
Poor contact technique is a common setup mistake that can lead to inaccurate measurements. If you don’t apply the right contact pressure, the dial indicator may drift or give inconsistent readings. Too little pressure results in unreliable contact, while too much can distort the part or damage the indicator. Make certain that the contact point is firmly but gently pressed against the surface, maintaining steady contact pressure throughout the measurement. Additionally, mounting stability plays a critical role; if the indicator or its mount shifts during measurement, your readings will be off. Double-check that the indicator is securely mounted and remains stable during the process. Consistent contact pressure combined with stable mounting ensures you get precise, repeatable backlash readings every time.
Maintain Your Setup for Accurate, Repeatable Backlash Readings
To guarantee your backlash readings remain accurate and repeatable, it’s essential to maintain your dial indicator setup properly. Regularly perform calibration procedures to ensure measurement accuracy. Adjust your setup to account for ergonomic considerations, such as proper positioning to reduce fatigue and errors. Keep components clean and free of debris, and check for worn parts that could affect readings. Use the following table to guide your maintenance routine:
| Task | Frequency |
|---|---|
| Calibration procedures | Monthly or after impact |
| Inspect for wear and debris | Before each use |
| Adjust for ergonomic setup | As needed |
Consistent maintenance minimizes drift and enhances reliability, making your backlash measurements both precise and repeatable.
Frequently Asked Questions
How Often Should I Recalibrate My Dial Indicator During Measurements?
You should recalibrate your dial indicator regularly, especially if you notice measurement inconsistencies or after any impact. For precise measurement consistency, calibrate it at the start of each work session and daily if used extensively. Also, recalibrate if the indicator is dropped or exposed to extreme temperature changes. Maintaining a consistent calibration schedule ensures accurate readings and reliable results over time.
Can Different Gear Sizes Affect the Setup Process?
Ever notice how different gear sizes can throw off your setup? It’s true—gear size directly impacts measurement accuracy because larger gears might require more precise alignment, while smaller ones can be more forgiving. When setting up your dial indicator, adjust your approach based on gear size to make certain of consistent readings. Paying attention to these details helps you achieve reliable backlash measurements and keeps your gear system running smoothly.
What Environmental Factors Influence Measurement Accuracy?
Environmental factors like temperature stability and vibration isolation greatly impact your measurement accuracy. Fluctuations in temperature can cause materials to expand or contract, skew readings. Vibration from nearby machinery or movement can introduce errors, making it hard to get precise measurements. To guarantee repeatability, keep your workspace temperature-controlled and use vibration isolation techniques, such as placing your setup on a stable, dampened surface. This way, your readings stay consistent and reliable.
Is There a Recommended Ideal Contact Pressure for Best Results?
For the best measurement consistency, you should aim for a contact pressure of about 1 to 2 ounces when using a dial indicator. This moderate pressure guarantees you don’t damage the indicator or distort the measurement. Applying consistent contact pressure helps achieve repeatable readings, reducing variability caused by too much or too little force. Practice maintaining steady pressure to improve accuracy and reliability in your measurements.
How Do I Detect and Correct for Dial Indicator Drift Over Time?
You detect dial indicator drift by regularly checking it against a fixed reference, ensuring temperature stability and mounting precision. If you notice the readings shift over time, calibrate the indicator or tighten its mounting. To correct drift, keep the environment stable, avoid temperature fluctuations, and verify that the indicator remains securely mounted. Consistent monitoring helps maintain accuracy and prevents errors caused by drift.
Conclusion
When you master your dial indicator setup, precision feels almost automatic—like the gear’s misalignment just happens to reveal itself. By following these steps, you’ll find that consistent backlash readings become second nature, making troubleshooting almost a coincidence. It’s a small effort that leads to big confidence in your measurements, turning what once felt like guesswork into a reliable process. Sometimes, the right setup is all it takes to unleash unexpected accuracy.