
To make your teardown findings useful, follow a structured photo checklist that emphasizes capturing clear, consistent images from specified angles using proper lighting and scale references. Label each shot with date, location, and component details, focusing on defects and key areas. Use varied shot types and annotations to highlight issues, and organize images logically. Mastering these inspection techniques ensures your documentation is thorough and reliable—stay tuned to learn more about optimizing your teardown analysis.
Key Takeaways
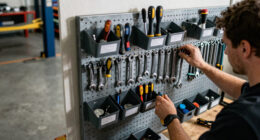
- Use standardized shot angles, lighting, and scale references for consistent, comparable images.
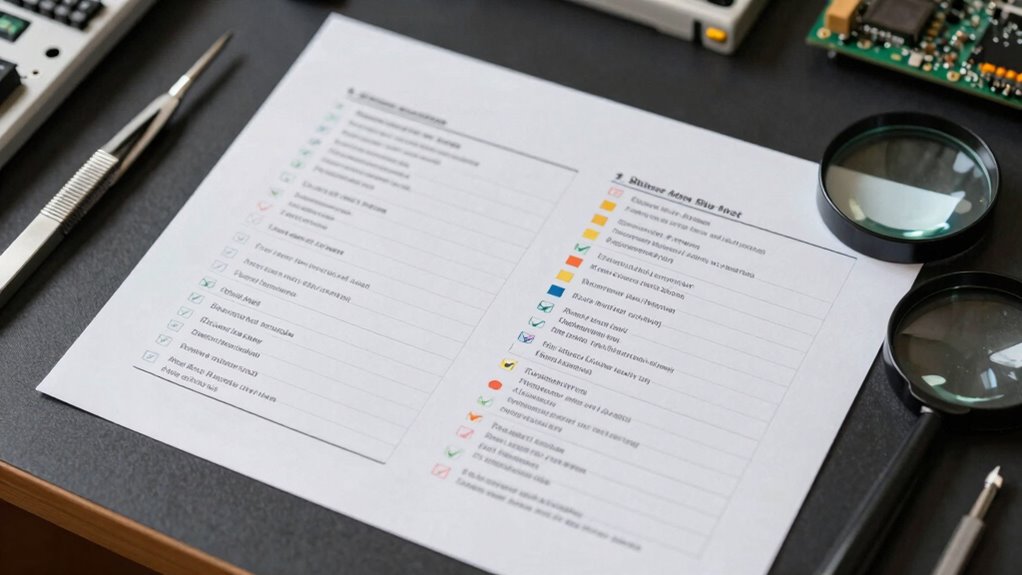
- Label photos with date, location, component details, and notes for clear documentation.
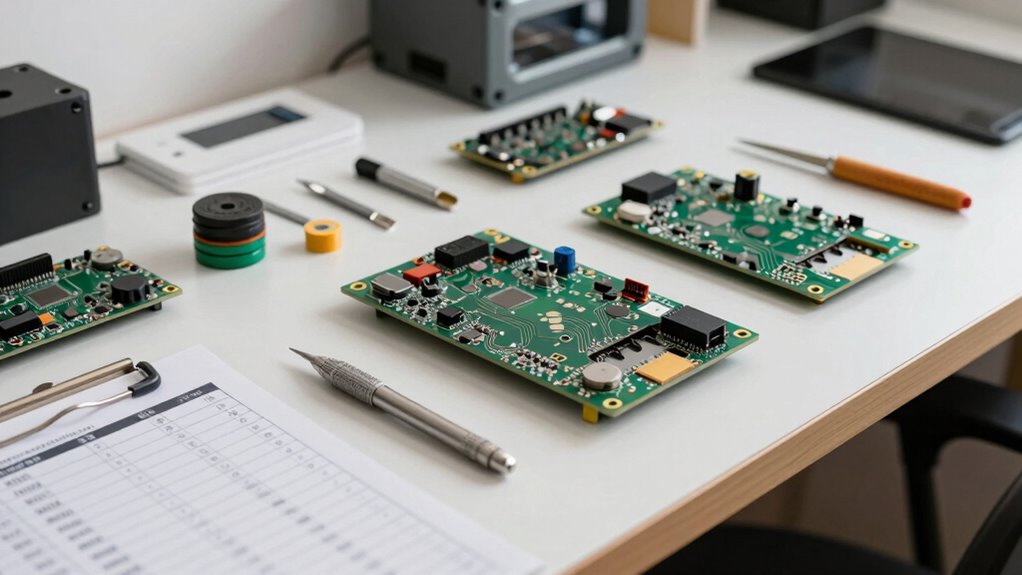
- Capture a variety of images: wide, close-up, macro, focusing on defects and key features.
- Organize images sequentially to mirror teardown steps, highlighting critical details with annotations.
- Review for uniformity in angles and lighting, ensuring clarity and focus on relevant findings.
Are you prepared to document a teardown effectively? Proper documentation is vital to uncovering insights and guaranteeing your findings are clear and actionable. To do this well, you need to master inspection techniques and follow documentation best practices that make your photos meaningful. The goal isn’t just to take pictures but to capture detailed, consistent images that paint a complete picture of the teardown process. When you approach this systematically, your photos become powerful tools for analysis, communication, and future reference.
Effective teardown documentation requires consistent, detailed images to ensure clarity and actionable insights.
Start by establishing a consistent approach to inspection techniques. This means using a standardized method for capturing images, such as shooting from specific angles, maintaining consistent lighting conditions, and including scale references like rulers or common objects. Consistency helps you compare different parts of the teardown accurately and guarantees that no critical details are overlooked. When you document with precision, you avoid ambiguous shots that might require clarification later. Remember, clarity in your photos accelerates understanding and reduces the need for lengthy explanations.
Alongside mastering inspection techniques, adherence to documentation best practices is essential. Make sure each photo is clearly labeled with relevant details, including the date, location, component name, and specific notes about what’s being shown. Use a logical photo sequence that follows the teardown process step-by-step, which makes it easier to reconstruct the event later. Avoid taking random or cluttered shots; instead, focus on capturing the key areas, defects, or points of interest that matter most to your findings. High-quality images—focused, well-lit, and properly framed—are more useful than numerous blurry or poorly lit ones.
It’s also wise to use a variety of shot types—wide shots to provide context, close-ups for details, and macro shots for tiny defects or irregularities. This thorough approach ensures your documentation is complete. When reviewing your photos, check for consistency in angles and lighting, and make sure each image clearly illustrates what you intend to show. Incorporate annotations or overlays if necessary, to highlight specific issues or features. Accurate and detailed documentation practices not only make your findings more credible but also streamline communication with colleagues, clients, or stakeholders. Additionally, understanding inspection techniques can significantly enhance the quality of your documentation process.
digital camera with macro lens
As an affiliate, we earn on qualifying purchases.
As an affiliate, we earn on qualifying purchases.
Frequently Asked Questions
How Can I Customize the Checklist for Different Project Types?
You can customize the checklist for different project types by developing project-specific templates that address unique needs. Use customization strategies like adding or removing items relevant to each project, ensuring the checklist captures all critical details. Tailor your templates to focus on key aspects, whether it’s structural, electrical, or safety features. This approach streamlines your process and makes your findings more precise and useful across various teardown projects.
What Camera Settings Ensure the Best Teardown Photos?
You should set your camera to a higher aperture (around f/8 to f/11) to guarantee sharpness across the photo. Use proper lighting techniques, like diffused natural light or softboxes, to reduce shadows and highlight details. Choose an angle that clearly shows the component’s features, ideally from a slightly elevated position. Adjust ISO for minimal noise, and use a tripod for stability. These settings help capture clear, detailed teardown photos.
How Do I Organize Photos for Efficient Analysis?
You can’t afford to waste time searching through disorganized photos. Start by creating folders based on sections or components, then guarantee your lighting setup and photo angle consistency are maintained throughout the teardown. Label each photo clearly, noting key details. Use a logical sequence, like chronological or by part, to streamline analysis. This organization keeps your findings clear, quick to access, and ready for insightful evaluation.
What Common Mistakes Should I Avoid During Teardown Photography?
You should avoid poor lighting techniques that obscure details and skew analysis. Make sure to choose consistent perspectives so you can compare images accurately. Avoid shooting from awkward angles that distort parts of the teardown, and always guarantee your lighting is even to prevent shadows that hide vital features. By focusing on proper lighting techniques and clear perspective choices, you’ll capture useful, reliable photos that make your findings more insightful.
How Can I Ensure Consistent Photo Quality Across Multiple Sessions?
Imagine a row of identical tools, each perfectly lit and viewed from the same angle—that’s how you guarantee consistent photo quality. Use steady lighting techniques like diffused light sources and set your camera angle tips to maintain uniformity. Lock your camera settings and create a shot checklist. This way, every session captures images with similar clarity, lighting, and perspective, making your teardown documentation clear and comparable every time.

ALTSON 60 LED Portable Selfie Light Video Conference Lighting with Clip & Camera Tripod Adapter Rechargeable 2200mAh CRI 97+, 3 Light Modes for Phone iPhone Webcam Laptop Photo Makeup
【Best Light Effect CRI 97+】This slim and lightweight LED light will brighten up your beauty in front of…
As an affiliate, we earn on qualifying purchases.
As an affiliate, we earn on qualifying purchases.
Conclusion
Using this teardown photo checklist is like having a trusted compass guiding your discovery. It keeps your findings clear and organized, turning chaos into clarity. With each well-documented photo, you’ll navigate the complexities of your teardown with confidence, ensuring no detail slips through the cracks. Remember, a thorough checklist isn’t just a tool—it’s the map that transforms your investigation into a smooth, successful journey. Stay meticulous, and watch your insights shine brighter than ever.
Digital Caliper Measuring Tool, Stainless Steel Vernier Caliper Digital Micrometer with Large LCD Screen, Easy Switch from Inch Metric Fraction, 6 Inch Caliper Tool for DIY/Household
【STAINLESS STEEL MATERIAL】The vernier caliper is made of high-strength stainless steel and is waterproof and dirt-proof. The service…
As an affiliate, we earn on qualifying purchases.
As an affiliate, we earn on qualifying purchases.

Smart Labels QR Code Stickers with AI Photo Analysis App – Auto-Creates Item Descriptions – No Typing – Made in USA – QR Code Labels for Storage & Inventory Tracking, Organization & Moving, Pack of 48
SMART ORGANIZATION WITH COLOR-CODED QR CODES: Say goodbye to clutter! Our qr code storage system, including a qr…
As an affiliate, we earn on qualifying purchases.
As an affiliate, we earn on qualifying purchases.