Keeping your Milwaukee hammer drill clean is essential for maintaining its power, durability, and safe operation. Dirt, dust, and debris can affect the tool’s performance and cause unnecessary wear. This guide provides clear, practical steps to clean your Milwaukee hammer drill properly, ensuring it remains in top condition for your projects.
Follow these instructions carefully, using appropriate tools and safety precautions to protect yourself and your equipment.
Key Takeaways
| Regular Cleaning | Prevents debris buildup that can impair performance. |
| Use Proper Tools | Soft brushes and compressed air are recommended. |
| Avoid Water Damage | Keep electrical parts dry and avoid submerging the tool. |
| Inspect for Damage | Check for wear or damage during cleaning. |

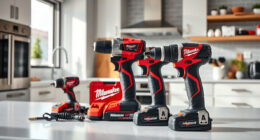
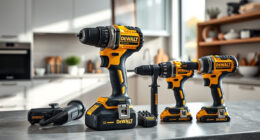
Milwaukee Electric - M18COMPACT BRUSHLESS 1/2 INCH Hammer Drill/Driver
Compact design: provides excellent balance and control, ideal for overhead applications or work in tight spaces.
As an affiliate, we earn on qualifying purchases.
Gather Necessary Tools and Safety Gear
- Soft-bristled brush or toothbrush
- Compressed air canister
- Microfiber or lint-free cloth
- Mild detergent or cleaning solution
- Safety goggles and gloves
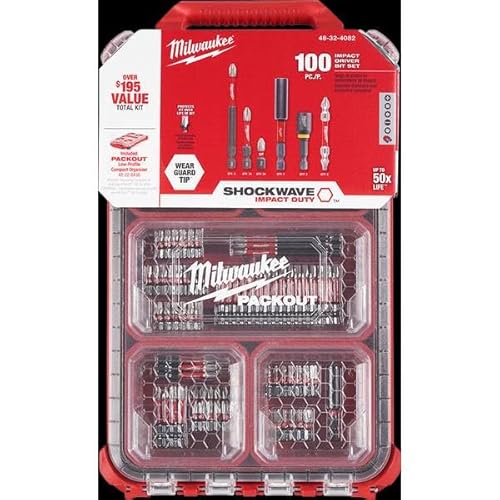
Milwaukee Shockwave 100pcs Impact Driver Bit Set Packout
As an affiliate, we earn on qualifying purchases.
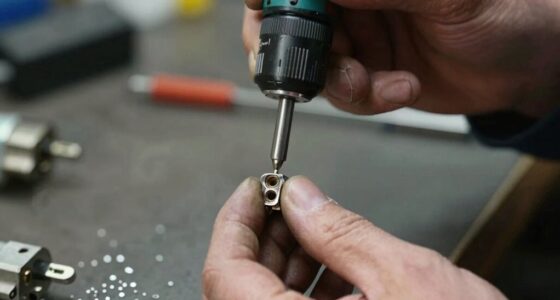
Prepare the Drill for Cleaning
Ensure the drill is turned off and unplugged (or removed from the battery if cordless). Remove the battery to prevent accidental activation. Clear any debris from the chuck and vents.
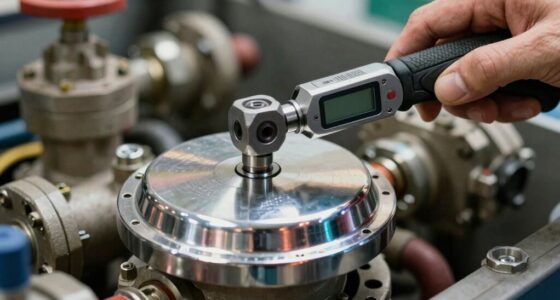
Clean the Exterior and Vents
- Use a soft brush to gently remove dust and debris from the exterior surfaces, including vents and crevices.
- Hold the drill upright and use compressed air to blow out dust from vents and hard-to-reach areas. Keep the can upright and at a safe distance to avoid moisture buildup.
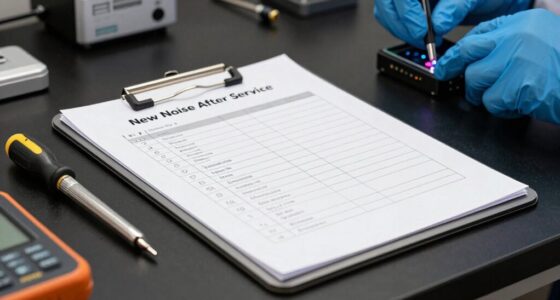
Wipe Down and Inspect Internal Components
Dampen a microfiber cloth with a mild detergent solution to wipe down the exterior. Avoid excess moisture. If accessible, inspect the chuck, switch, and motor housing for dirt or damage. Do not disassemble the motor or gearbox unless trained or authorized.
Reassemble and Test
Once cleaned, reinsert the battery, and test the drill in a safe environment. Ensure all parts are dry and properly secured before use.
The Products in This Guide

Milwaukee Electric – M18COMPACT BRUSHLESS 1/2 INCH Hamme
- ✔ Battery: 18V Lithium-Ion
- ✔ Speed: 0-1700 RPM
- ✔ Chuck Size: 1/2-inch metal
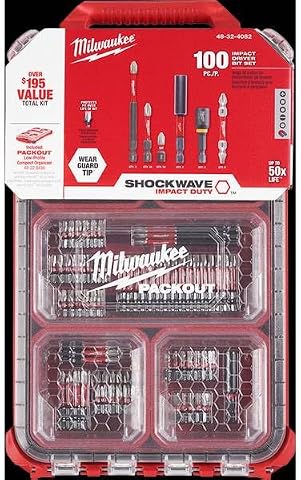
Milwaukee Shockwave 100pcs Impact Driver Bit Set Packout
- ✔ Set Size: 100 pieces
- ✔ Case: Packout
- ✔ Material: Impact steel
Milwaukee Electric – M18COMPACT BRUSHLESS 1/2 INCH Hamme
Regular cleaning of your Milwaukee hammer drill helps maintain its power and prolongs its lifespan. Follow these steps to keep your tool in top shape without risking damage.
Pros:
- Easy to follow steps
- Prevents performance issues
- Uses common cleaning tools
- Safe for electrical parts
Cons:
- Requires some manual effort
- Avoid using excessive moisture
- Limited access to internal components
Best for: Maintaining your Milwaukee hammer drill’s longevity
Not ideal for: Cleaning internal gears or motor parts—requires professional service
Bottom line: Regular external cleaning keeps your Milwaukee hammer drill performing at its best.
Milwaukee Shockwave 100pcs Impact Driver Bit Set Packout
Pair your cleaned Milwaukee drill with this impact driver bit set for versatile and efficient fastening. The set offers 100 pieces stored in a durable Packout case, perfect for professional or DIY use.
Pros:
- Wide variety of bits
- Durable impact-rated construction
- Organized storage case
- Great value for the quantity
Cons:
- Heavy set may be bulky
- Bits can be overkill for small jobs
- Requires compatible impact driver
Best for: Completing projects with a complete impact driver kit
Not ideal for: For users only needing a few basic bits
Bottom line: Enhance your Milwaukee drill’s versatility with this comprehensive impact driver bit set.
Frequently Asked Questions
Can I submerge my Milwaukee hammer drill in water for cleaning?
No, avoid submerging or exposing the drill to excessive moisture. Use only dry or lightly damp cloths and compressed air to clean exterior parts.
How often should I clean my hammer drill?
Clean your drill regularly, especially after heavy use or working in dusty environments. A thorough cleaning every few months is recommended for optimal performance.
Is it safe to clean the motor area internally?
No, internal motor components should only be cleaned or serviced by qualified technicians. Improper disassembly can damage the tool or void warranty.
What should I do if my drill still performs poorly after cleaning?
If performance issues persist, check the battery health, inspect for damage, or consider professional servicing. Regular maintenance helps prevent major problems.
Keep Your Milwaukee Hammer Drill in Peak Condition
Proper cleaning is a simple yet essential step to ensure your Milwaukee hammer drill operates smoothly and lasts longer. By following these practical steps and safety tips, you can maintain your tool’s performance and avoid costly repairs. Remember to regularly inspect and clean your equipment, and use quality accessories to maximize its lifespan.
Affiliate disclosure: As an Amazon Associate we earn from qualifying purchases. Prices and availability are accurate as of the time of publishing.