Your sample bottle cleanliness is a hidden variable that can greatly impact test accuracy. Contaminants like residues, dust, or microbes can skew results and damage equipment. Proper cleaning involves thorough rinsing, suitable cleaning agents, and complete drying to prevent cross-contamination. Monitoring standards ensures consistent results over time. Understanding and controlling this step is essential; continue exploring to uncover how to keep your samples truly pristine.
Key Takeaways
- Residual contaminants in sample bottles can silently skew test results if not properly cleaned.
- Inadequate drying can lead to microbial growth or cross-contamination, affecting sample integrity.
- Using incompatible cleaning agents may leave residues that interfere with subsequent analyses.
- Lapses in sterilization protocols allow microbial contamination to go unnoticed, impacting biological tests.
- Regular monitoring and verification are crucial to uncover hidden contamination risks in sample bottles.
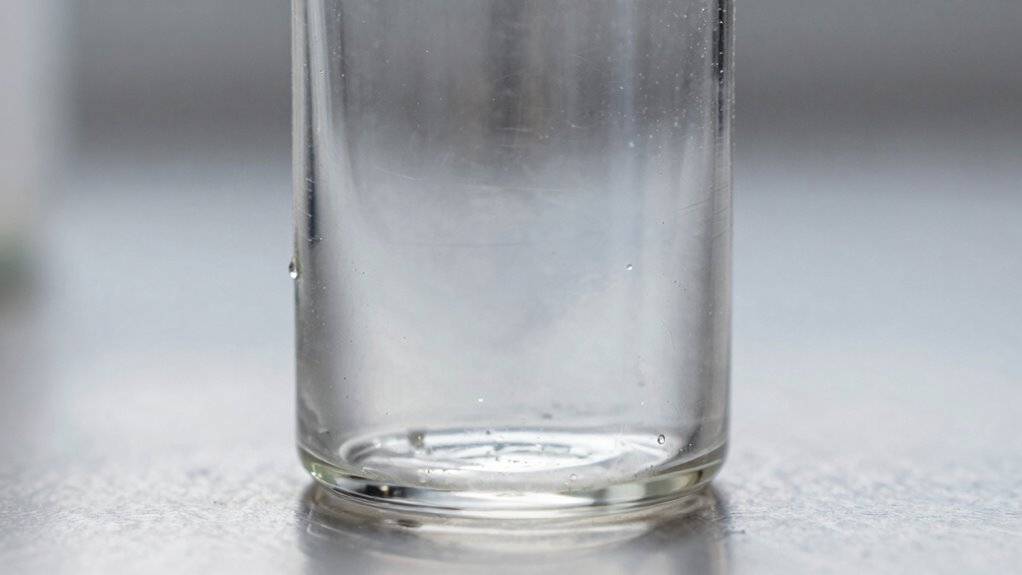
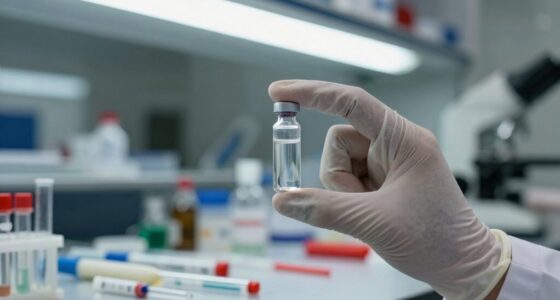
How clean are your sample bottles before use? This question might seem straightforward, but it’s essential for guaranteeing the accuracy of your samples. Even tiny residues or contaminants can skew results, leading to unreliable data and potential setbacks in your project. The level of cleanliness directly impacts the integrity of your samples, and overlooking this step can introduce contamination risks that are often invisible to the naked eye. That’s why strict adherence to effective cleaning protocols is fundamental. Proper cleaning isn’t just about appearance; it’s about eliminating any traces of previous contents, dust, or microorganisms that could compromise your sample quality.
Ensuring sample bottles are thoroughly cleaned is vital for accurate, reliable results and contamination prevention.
Contamination risks are a serious concern when handling sample bottles. Residual chemicals, biofilms, or foreign particles can all interfere with your analysis. For instance, leftover substances from previous experiments might react with new samples, generating false readings or even damaging sensitive equipment. Microbial contamination is equally problematic, especially in biological or pharmaceutical contexts, where even a small bacterial presence can alter results. Recognizing these risks underscores why thorough cleaning protocols must be in place and rigorously followed. These protocols typically include pre-rinsing, washing with suitable cleaning agents, and proper drying techniques to guarantee no residue remains. In many cases, sterilization methods such as autoclaving or chemical sterilants are incorporated to eliminate microbial threats.
Implementing effective cleaning protocols isn’t just about following procedures; it’s about understanding the importance of each step. You need to select the right cleaning agents compatible with your sample bottles and the substances they’ll contain. Using inappropriate cleaners can leave behind residues that contribute to contamination risks. Additionally, the drying process is just as essential. Residual moisture can promote microbial growth or cause cross-contamination between samples. Using lint-free wipes or air drying in clean environments helps maintain the integrity of your bottles.
Monitoring and verifying cleanliness is another critical aspect. Regular checks, such as surface swabs or visual inspections, can help identify any lapses in your cleaning process. Implementing spot checks and maintaining detailed cleaning logs can also improve consistency and accountability. Remember, the goal isn’t just to clean but to guarantee that your sample bottles meet the highest standards of cleanliness before use. This proactive approach minimizes contamination risks and guarantees the reliability of your data. Ultimately, understanding the importance of proper cleaning protocols and diligently applying them will safeguard your samples’ integrity and uphold the accuracy of your results.

Holikme Bottle Brush Tube Cleaning Lab Set with Long Handle, Cup Cleaner for Washing Narrow Neck Beer Wine Decanter Pipes Lids Sinks Cap Covers, White
Bottle cleaning brushes with multiple usage includes 7.9-12.5 inches straw tube cleaning lab brushes, 16 inches long handle…
As an affiliate, we earn on qualifying purchases.
As an affiliate, we earn on qualifying purchases.
Frequently Asked Questions
How Long Can a Sample Bottle Remain Contaminated Before Affecting Results?
Contamination duration varies, but even brief exposure can compromise sample stability. You should analyze samples promptly, ideally within a few hours to prevent contamination from affecting results. If contamination persists longer, it increases the risk of erroneous data, so always store samples properly and minimize delays. Regularly check and clean bottles to guarantee contamination stays minimal, maintaining the integrity of your results and avoiding false readings.
What Are the Best Practices for Storing Cleaned Sample Bottles?
To prevent contamination, store cleaned sample bottles in a clean, sealed environment, ideally in a designated cabinet or container. Make certain bottles are completely dry before storage, as moisture promotes microbial growth. Label bottles clearly and handle them with gloves to avoid introducing contaminants. Regularly inspect storage areas for cleanliness and replace any damaged or compromised bottles. Proper bottle storage is essential for contamination prevention and maintaining sample integrity.
Do Different Materials of Sample Bottles Influence Cleanliness?
Different materials of sample bottles definitely influence cleanliness. Think of it like cleaning different surfaces—glass wipes easily, while plastic may trap residues. Material compatibility affects how well you can remove residues and avoid contamination. For example, stainless steel bottles resist residue buildup better than some plastics, making cleaning more effective. So, choosing the right material guarantees better residue removal and maintains sample integrity, reducing contamination risks.
How Often Should Sample Bottles Be Re-Cleaned for Optimal Results?
You should re-clean your sample bottles after every use to prevent contamination and guarantee accurate results. Regular re-cleaning is essential for contamination prevention, especially if bottles are reused frequently. By maintaining a strict cleaning schedule, you minimize the risk of cross-contamination, which can compromise your sample integrity. Always inspect bottles for residues or buildup before reuse, and follow proper cleaning protocols to keep your results reliable and consistent.
Are There Specific Cleaning Agents Recommended for Certain Sample Bottles?
You’ll find that cleaning agents matter when choosing the right solution for your sample bottles. Always consider bottle compatibility—some materials like glass or certain plastics need gentle, non-corrosive cleaning agents to avoid damage. For example, use mild detergents for plastic bottles and specialized cleaning solutions for glass. Coincidentally, selecting compatible cleaning agents guarantees your bottles stay in top condition, preventing contamination and preserving sample integrity.

Lounsweer 50 Pcs 100ml Sterile Water Sampling Bottles with 10mg Sodium Thiosulfate, Leakproof for Drinking Water Safety Testing, Total Coliform Detection
Keep Precision Sampling: each bottle is individually sealed and Preprocessing using validated methods; This ensures reliable testing for…
As an affiliate, we earn on qualifying purchases.
As an affiliate, we earn on qualifying purchases.
Conclusion
Remember, the cleanliness of your sample bottle is the silent conductor of your results, orchestrating accuracy behind the scenes. Neglecting this hidden variable is like trying to read a map through fog—you won’t see the full picture. By ensuring pristine bottles, you clear the haze, allowing your data to shine with clarity and precision. Don’t let unseen dirt be the ghost in your laboratory machine; instead, give your samples a spotless stage to perform their truth.

Inevibe Drying Rack for Lab Glassware and Bottles – Laboratory Draining Dryer Stand for Countertop, Space Saving Steel Wire Frame – Station for Baby Feeding Bottle
WHAT'S INCLUDED: Dryer rack made from durable steel wire construction with PE coating to protect against scratches, knicks…
As an affiliate, we earn on qualifying purchases.
As an affiliate, we earn on qualifying purchases.

United Scientific® Unistore™ – Sample Containers with Lids – Laboratory Grade Polypropylene Wide Mouth Reagent Bottle – 32 Oz Bottles with Caps (1000ml), Plastic Bottles with Lids, Pack of 1
MULTI-PURPOSE WIDE MOUTH CLEAR PLASTIC BOTTLE: This reagent bottle is ideal for classrooms, home use, and travel size…
As an affiliate, we earn on qualifying purchases.
As an affiliate, we earn on qualifying purchases.