
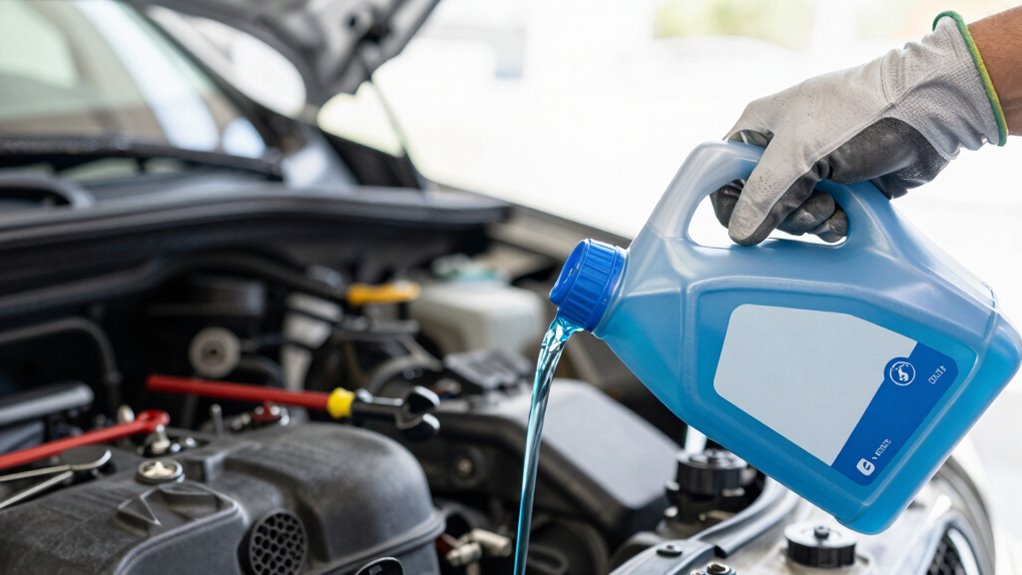
To avoid confusion when testing vehicle fluids, focus on one fluid at a time using the “One Change” plan. Start by identifying symptoms that point to specific fluids, then set clear goals for each test, like checking for contamination or wear. Use proper safety measures, label samples, and keep detailed records of results. Sticking to this organized approach saves you from mistakes and helps you diagnose issues quickly—learn more about making this method work for you.
Key Takeaways
- Test one fluid at a time to prevent cross-contamination and ensure accurate results.
- Use dedicated, clean testing tools and label samples immediately for clarity.
- Follow a structured routine with specific intervals for each fluid to maintain consistency.
- Focus on high-priority fluids based on vehicle symptoms and organize testing objectives clearly.
- Record each result meticulously to track changes and avoid confusion during diagnostics.
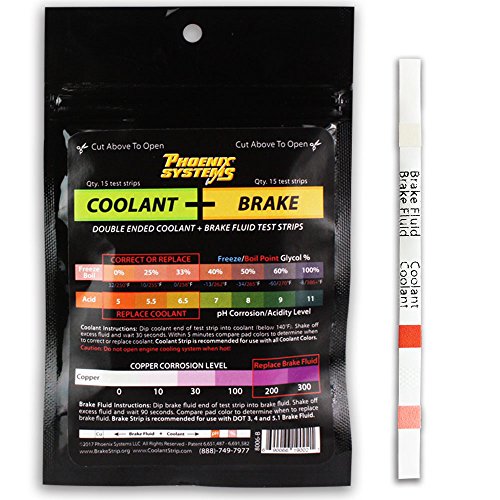
Phoenix Systems 8006-B Double-Ended Brake Fluid + Coolant Test Strips (15 foil wrapped test strips), 1 Pack
15 Double-Ended test strips used to test both coolant and Brake fluid
As an affiliate, we earn on qualifying purchases.
As an affiliate, we earn on qualifying purchases.
Why Testing Vehicle Fluids One Step at a Time Saves You Money and Stress
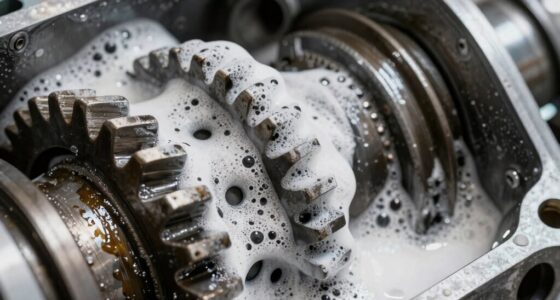
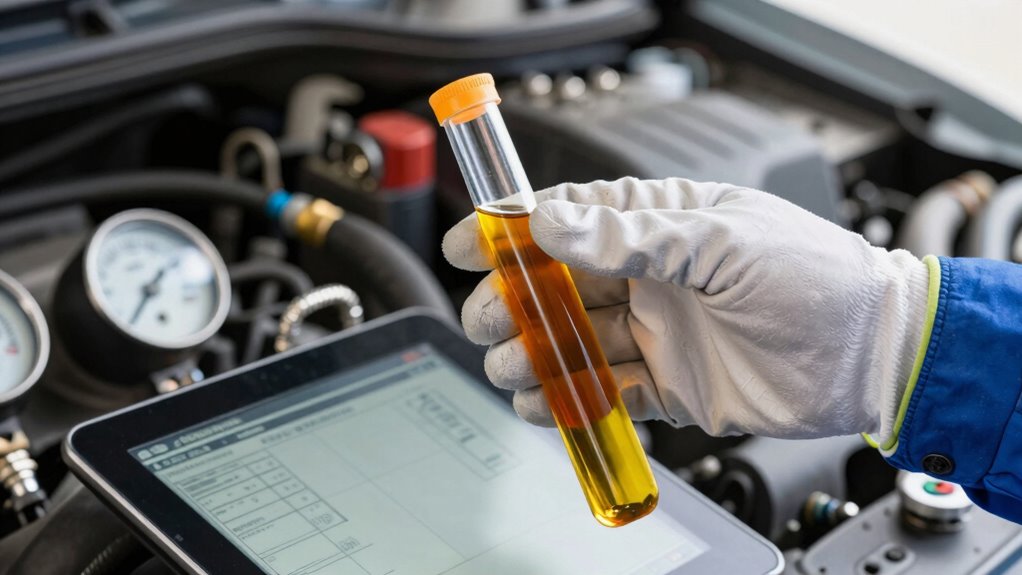
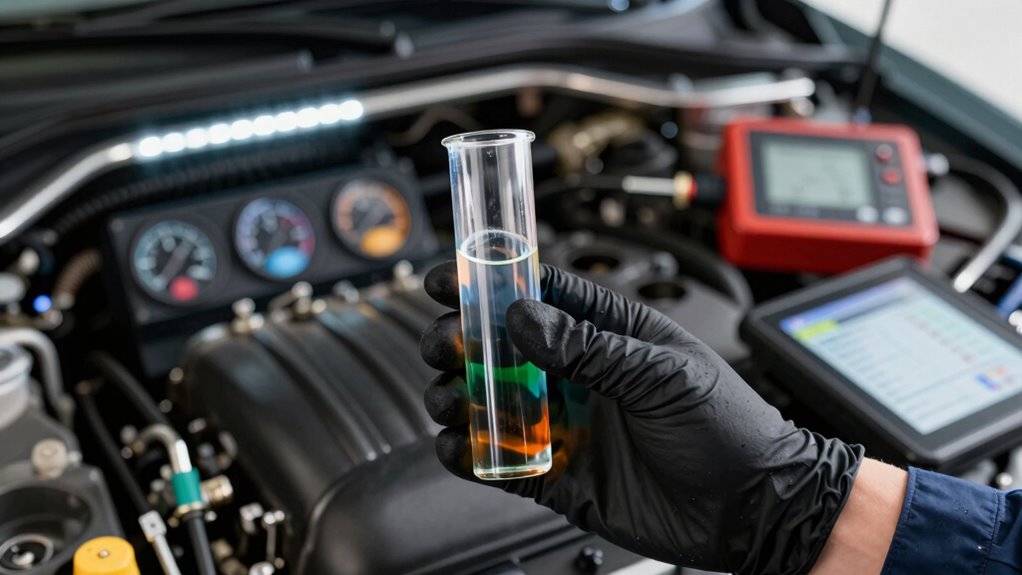
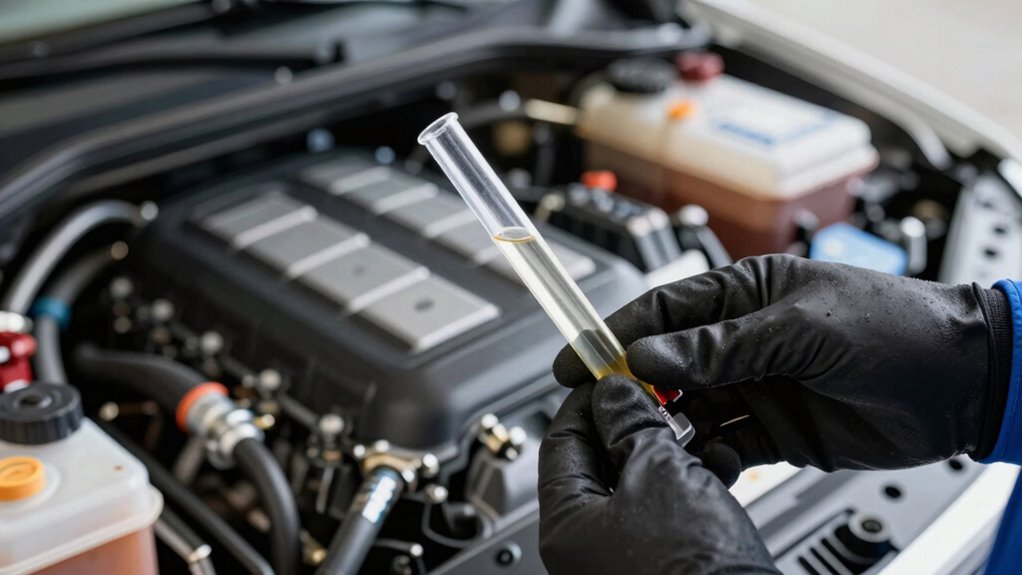
Testing your vehicle fluids one step at a time helps you catch potential problems early, preventing costly repairs down the line. By checking fluid color, you can identify issues like contamination or wear before they worsen. Using testing tools, such as dipsticks or test strips, makes this process straightforward and reliable. When fluid looks dark, murky, or has a burnt smell, it signals you need to take action. Doing this gradually reduces the stress of trying to diagnose multiple issues at once and saves you money by avoiding unnecessary repairs. Focusing on one fluid at a time keeps things simple, helps you learn your vehicle’s needs, and ensures you maintain it effectively, keeping it running smoothly for longer. Additionally, understanding the contrast ratio of your projector can help you better evaluate its image quality and suitability for your home cinema setup. Regularly inspecting fluid levels and quality also promotes preventive maintenance, which can extend the life of your vehicle’s components. Incorporating consistent monitoring into your routine ensures early detection of potential issues, further safeguarding your investment. Furthermore, adopting this methodical approach enhances your confidence in vehicle maintenance, empowering you to address issues proactively. Recognizing the importance of fluid quality can help you better understand how different fluids impact your vehicle’s performance and longevity.

Brake Fluid Liquid Tester Pen,1PC DOT 3 DOT 4 DOT 5.1 Brake Fluid Liquid Tester Pen, Car Diagnostic Testing Tool with 5 LED Indicators, Hydraulic Fluid Liquid Oil Moisture Analyzer
High quality: This brake fluid tester is made of nickel-plated metal probe, which is resistant to oil and…
As an affiliate, we earn on qualifying purchases.
As an affiliate, we earn on qualifying purchases.
How to Decide Which Fluid to Test First Based on Symptoms
When symptoms indicate a specific issue, you can prioritize testing the most likely fluid. Matching symptoms to the right fluid helps you identify problems quickly and avoid unnecessary tests. Focusing on symptom-based fluid priorities streamlines your diagnostic process. Incorporating content formats into your testing approach can help tailor your evaluations to different types of data and presentation styles. Additionally, understanding diagnostic strategies can improve the accuracy and efficiency of your assessments. Recognizing fluid properties relevant to particular symptoms can further refine your testing sequence and outcomes.
Symptom-Based Fluid Priorities
Determining which fluid to test first depends on the symptoms you observe, as certain signs point more directly to specific fluid imbalances. For example, changes in fluid color or smell can guide your priorities. If urine appears dark and has a strong odor, focus on hydration levels and kidney fluids. Clear, odorless fluids might indicate electrolyte imbalances. Use this quick reference:
| Symptom | Fluid to Test | Key Clues |
|---|---|---|
| Dark urine, strong smell | Urine | Fluid color, smell |
| Clear, excessive output | Sweat or saliva | Fluid volume |
| Mucous or cloudy discharge | Mucous membranes | Fluid consistency, color |
| Unusual smell or color in fluids | All fluids | Fluid smell, color |
Prioritize testing based on these clues to avoid confusion. Recognizing the symptom patterns can help streamline your diagnostic process effectively. Considering the power output of electric dirt bikes, which can reach up to 20 horsepower, can also inform your understanding of fluid needs for maintenance or repair. Additionally, understanding the importance of security measures in payment processing can help you protect sensitive data during diagnostic procedures.
Matching Symptoms to Fluids
To decide which fluid to test first, you need to carefully observe the symptoms you see. Pay close attention to fluid color, as it often provides clues about symptom correlation. For example, clear fluids with a watery consistency might relate to dehydration or inflammation, while thicker, cloudy fluids could indicate infection or immune response. Bright yellow or greenish fluids often correlate with issues like infection or detoxification processes. By matching these fluid colors with specific symptoms—such as fever, swelling, or pain—you can prioritize testing the fluid most likely linked to the problem. This targeted approach helps you avoid unnecessary tests, making the process more efficient and accurate. Remember, symptom correlation is your best guide in choosing which fluid to analyze first. Additionally, understanding fluid analysis techniques can enhance your ability to interpret test results effectively. Being familiar with microplastics in dust and other contaminants can also inform your testing priorities, especially if environmental factors are suspected to contribute to the symptoms. Recognizing environmental influences may further refine your testing strategy, ensuring you address all potential sources of the symptoms. Incorporating knowledge about the health impacts of contaminants can help identify hidden factors affecting the patient’s condition. Furthermore, paying attention to contaminant patterns can assist in identifying recurring issues that might influence fluid analysis outcomes.

Engine Oil Dipstick Replacement OEM#CJ5Z-6750-A Compatible with Ford Escape Edge Explorer Focus Fusion Taurus Lincoln MKC MKZ 2.0L Ecoboost Engines Fluid Oil Level Dipstick
【OEM Design】This engine oil dipstick replaces OEM#CJ5Z-6750-A, made of quality materials, meet or exceed OEM standards, it a…
As an affiliate, we earn on qualifying purchases.
As an affiliate, we earn on qualifying purchases.
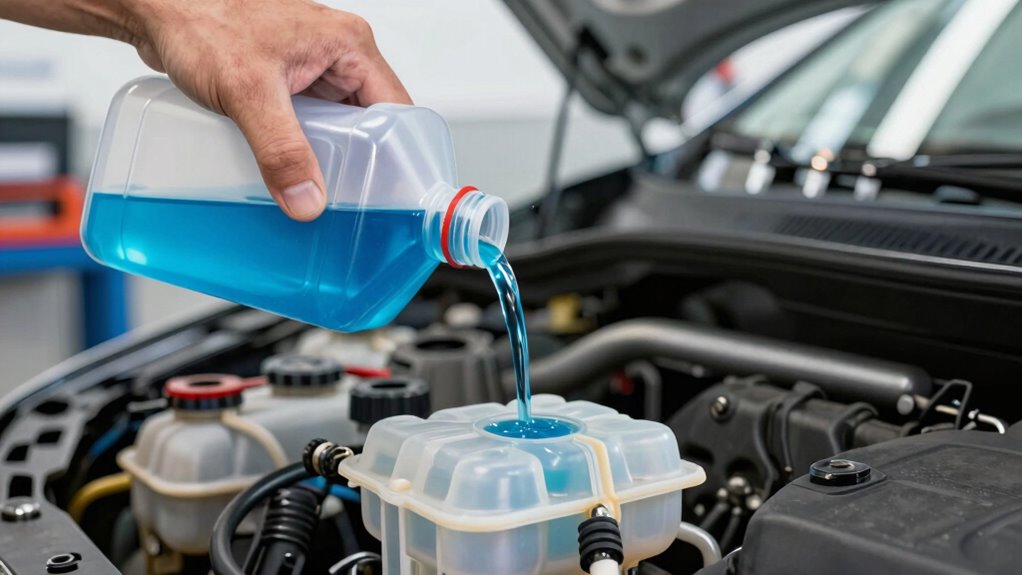
Setting Clear Goals Before Testing Your Vehicle’s Fluids

Before you start testing your vehicle’s fluids, it’s important to set clear, specific goals for what you want to accomplish. Proper goal setting in fluid testing helps you stay focused and avoid unnecessary confusion. Determine whether you’re checking for leaks, contamination, or general condition. Clarifying your goal guides your testing process and ensures you only test one fluid at a time. Use the table below to organize your objectives:
| Fluid | Goal | Priority |
|---|---|---|
| Engine Oil | Check for contamination | High |
| Coolant | Detect leaks or low levels | Medium |
| Transmission | Verify proper fluid color | Low |
| Brake Fluid | Assess moisture content | Medium |
| Power Steering | Confirm fluid condition | Low |
Effective goal setting simplifies fluid testing and keeps you on track. Additionally, understanding the fluid properties can help you interpret the results more accurately. Recognizing the chemical reactions involved in fluid changes can also enhance your diagnostic accuracy. Being familiar with home care techniques can further improve your ability to maintain your vehicle effectively. Moreover, knowing the evolution of arcade games can make your gaming sessions more nostalgic and enjoyable.

TYRAREX Automotive Transmission Fluid Tester Oil Analyzer Detector with Temperature Sensor, Gasoline & Diesel Gearbox Oil Diagnostic Tool with 31.5in Hose 2.8in Backlight Display (T20)
【Transmittance Test】 Apply to test the transmittance of transmission fluid and reflect the impurities, pollutants, or sediments in…
As an affiliate, we earn on qualifying purchases.
As an affiliate, we earn on qualifying purchases.
How to Safely Test One Fluid at a Time in Your Vehicle
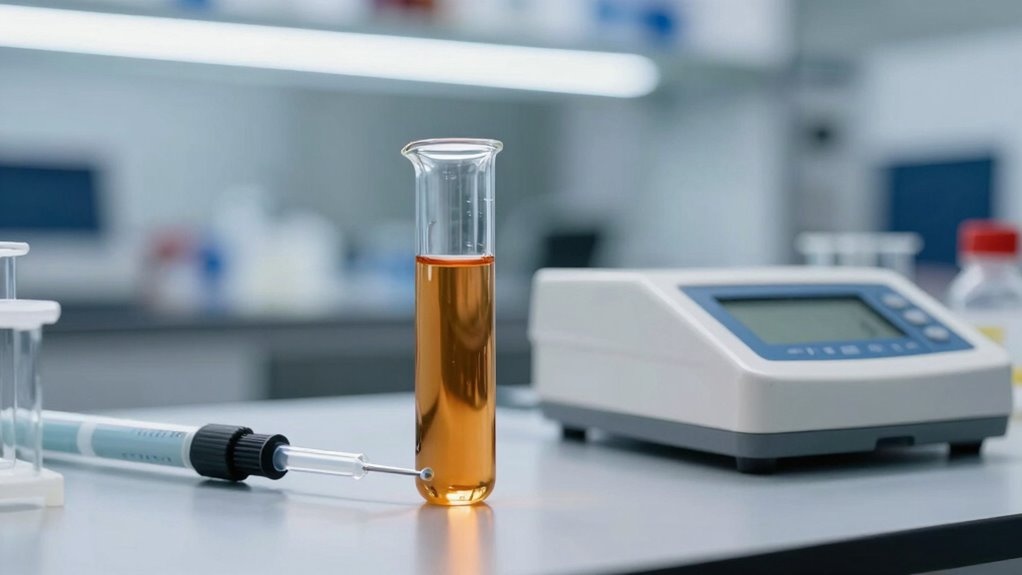
Testing one fluid at a time is the safest way to get accurate results without risking cross-contamination or misdiagnosis. When performing fluid testing, always follow safety precautions to protect yourself and your vehicle. Start by thoroughly cleaning the area around the fluid reservoir cap to prevent dirt from contaminating the sample. Use clean tools or gloves to avoid introducing foreign substances. Remove the cap carefully and collect a small sample, ensuring you don’t disturb other fluids in nearby reservoirs. Label each sample immediately to avoid confusion. Remember, safety precautions are essential—wear protective gloves and eyewear if necessary. Taking these steps ensures precise fluid testing, minimizes errors, and keeps you safe during the process. Additionally, understanding regional flavors and pairing techniques can enhance your overall experience with vehicle fluids, much like appreciating nuanced flavors in coffee and tea.
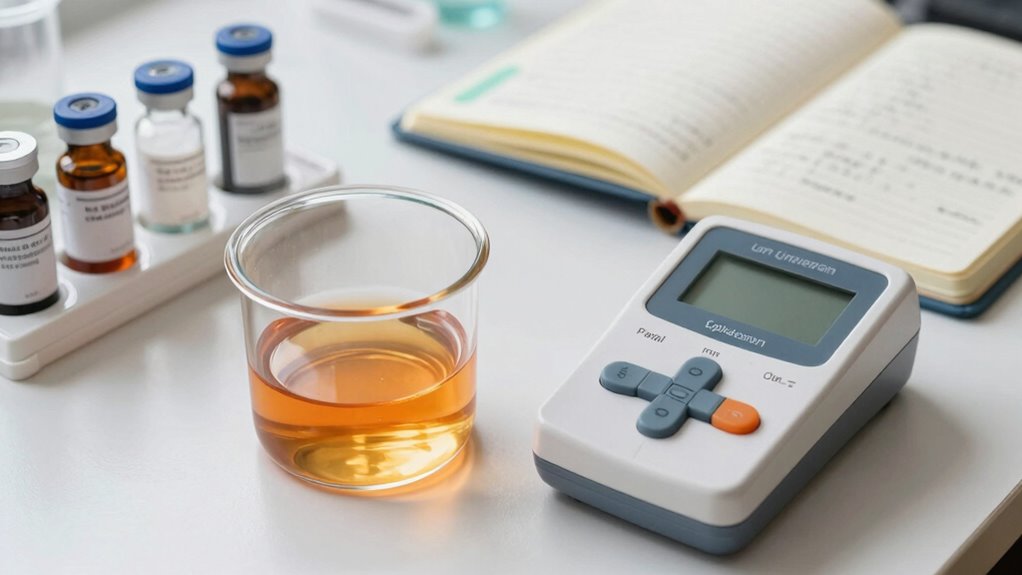
What Your Fluid Test Results Mean and What to Do Next
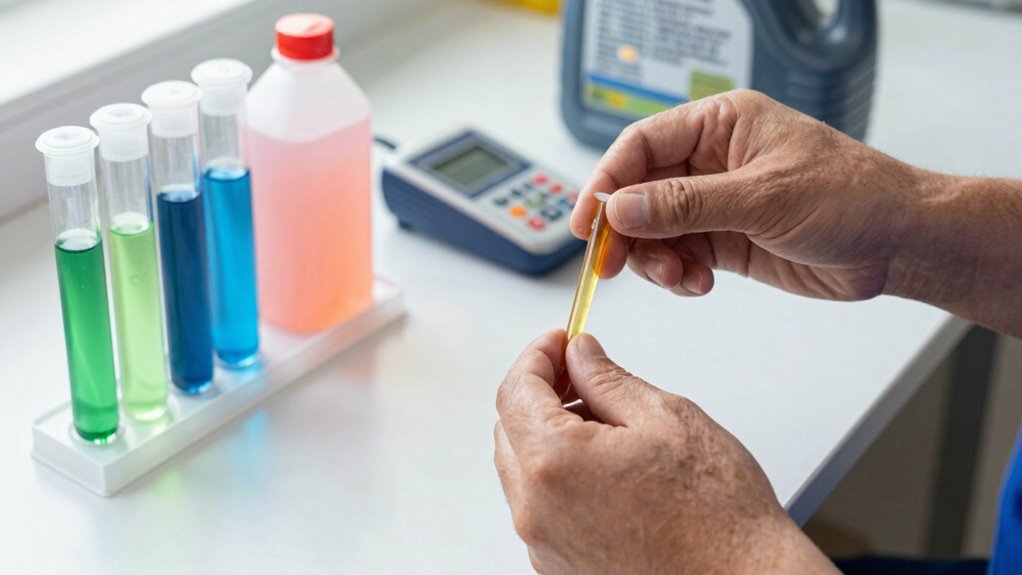
Interpreting your fluid test results is essential for maintaining your vehicle’s health. When you review the results, look for signs of fluid contamination, such as discoloration or debris. Understanding what these signs mean helps you decide whether you need to change the fluid or check for leaks. Consistent testing intervals are key to catching issues early. Regularly testing fluids can help identify problems before they cause significant damage. Incorporating free floating principles into your maintenance routine ensures that your results remain accurate and reliable over time.
Regularly check fluid test results for signs of contamination to maintain your vehicle’s health.
Here’s what to do next:
- If fluids appear contaminated, plan a change soon.
- Note any unusual color or smell indicating possible issues.
- Follow recommended testing intervals to monitor fluid condition regularly.
- Address contamination sources promptly to avoid damage.
- Record your results to track changes over time.
- Using accurate measurement tools ensures reliable test results for better diagnosis.
Mistakes to Avoid When Testing Your Vehicle’s Fluids
When checking your vehicle’s fluid health, it’s easy to make mistakes that can lead to inaccurate readings or overlook potential problems. One common error is ignoring fluid contamination, which can hide issues like dirt or water that affect performance. Always inspect the fluid’s color indicators; dark or cloudy fluids often signal the need for a change. Relying solely on fluid appearance without considering contamination risks can be misleading. Additionally, avoid checking fluids when they’re hot, as this can give false readings or cause burns. Remember, a quick visual check isn’t enough—ensure you understand what the color and clarity signify. These mistakes can cause you to miss early signs of trouble, leading to costly repairs down the line.
How the “One Change” Method Can Save You Time and Money
The “One Change” method simplifies vehicle maintenance by focusing on making a single, impactful adjustment at a time. When testing fluids, this approach helps you identify issues like fluid contamination efficiently. By isolating variables, you avoid wasting money on unnecessary repairs or replacements. Using proper testing equipment ensures accurate readings, saving you time and guesswork.
Focusing on one fluid at a time helps detect issues early and saves money on unnecessary repairs.
- Focus on one fluid at a time to detect contamination early
- Use reliable testing equipment for precise results
- Keep records of changes to track fluid quality over time
- Avoid multiple simultaneous modifications that complicate diagnosis
- Save money by addressing issues before they escalate into costly repairs
This method streamlines maintenance, prevents unnecessary expenses, and keeps your vehicle running smoothly. With focused testing, you ensure your fluids stay clean and your engine stays healthy.
Tips for Maintaining a Confident and Organized Fluid Testing Routine
Maintaining a confident and organized fluid testing routine starts with establishing a clear plan and sticking to it consistently. Set specific testing schedules based on your vehicle’s needs and your routine. Keep track of fluid levels and test results regularly to prevent issues. Use a checklist to stay organized and ensure no step is missed. Prioritize fluid maintenance to extend component life and improve performance. Stick to your schedule even when busy—consistency is key. Here’s a helpful table to structure your routine:
| Task | Frequency | Notes |
|---|---|---|
| Oil testing | Every 3,000 miles | Use clean tools |
| Coolant check | Monthly | Look for leaks |
| Brake fluid | Every 12 months | Replace if contaminated |
| Transmission | Every 30,000 miles | Follow manufacturer guide |
| Power steering | Every 6 months | Ensure proper fluid level |
Frequently Asked Questions
How Often Should I Perform the “One Change” Fluid Testing Method?
You should perform the “one change” fluid testing method every 3,000 to 5,000 miles or during your vehicle’s regular fluid change intervals. Establish a testing schedule based on your driving habits and manufacturer recommendations, and stick to it consistently. This approach helps you monitor fluid condition effectively without confusion, ensuring you catch issues early and maintain peak performance. Regular testing keeps your maintenance routine simple and reliable.
Can I Test Multiple Fluids at the Same Time Safely?
Imagine you’re a tech wizard in the 90s, but today, you can safely test multiple fluids at once. It’s possible if you use separate testing equipment for each fluid to avoid contamination. Always guarantee your testing equipment is thoroughly cleaned between tests to prevent fluid contamination. While it’s generally safe, double-check the compatibility of your testing methods and equipment to avoid cross-contamination and inaccurate results.
What Tools Are Necessary for Testing Vehicle Fluids Effectively?
To test vehicle fluids effectively, you need essential fluid testing equipment like dipsticks, test strips, and portable testing tools. DIY testing kits are also handy for quick checks at home. Make sure you have a clean container to collect samples and a flashlight for better visibility. These tools help you accurately assess oil, coolant, and transmission fluids, ensuring your vehicle stays in top shape without confusion.
How Do I Interpret Unexpected Results From Fluid Tests?
Think of unexpected fluid test results as a foggy mirror; they signal something’s off. First, check for fluid contamination or test inaccuracies—retest if needed. If results still surprise you, investigate possible leaks, contamination sources, or component wear. Remember, inaccurate tests or contamination skew your understanding, so always verify results before jumping to conclusions. Accurate testing is your compass in diagnosing real issues from false alarms.
Is Professional Help Necessary for Complex Fluid Testing Procedures?
You should consider professional help for complex fluid testing procedures, especially when DIY safety becomes a concern. Expert consultation guarantees accurate results and reduces risks associated with handling hazardous fluids. If you’re unsure about the process or encounter unexpected results, consulting with a qualified technician can save you time and prevent mistakes. Always prioritize safety and accuracy by seeking expert advice when the testing exceeds your experience or comfort level.
Conclusion
Remember, patience and focus are key — don’t bite off more than you can chew. By testing your vehicle’s fluids one step at a time, you’ll avoid unnecessary stress and save money. Stay organized, set clear goals, and trust the process. As the saying goes, “A journey of a thousand miles begins with a single step.” Keep that in mind, and you’ll master fluid testing with confidence and ease.