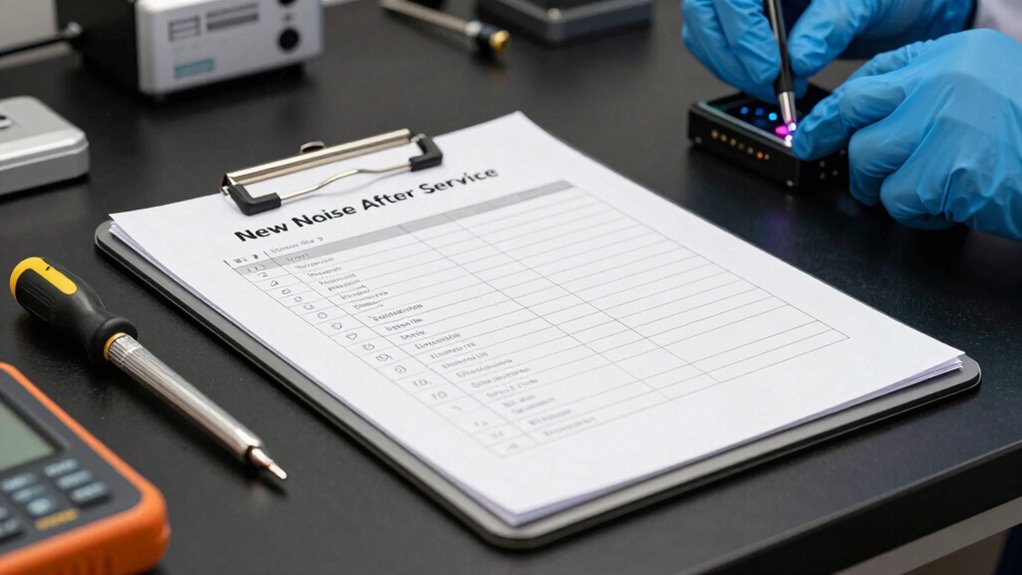

After a service, it’s essential to identify the new noise quickly. Start by noting when the noise occurs—during acceleration, braking, or idling—and observe if it’s constant or intermittent. Use diagnostic tools to check error codes and monitor real-time data. Pay attention to sounds, vibrations, and triggers. Regular inspections of parts and fasteners help prevent issues. If the noise persists, seeking professional help early can save you money and prevent damage; there’s more to take into account if you continue.

Get business pricing on garage and car supplies
- Business-only prices and quantity discounts
- Tax-exempt purchasing
- Multiple users, one account, clear invoices
Key Takeaways
- Identify when and under what conditions the new noise occurs, such as during acceleration, braking, or idling.
- Use diagnostic tools and error codes to detect hidden issues or sensor malfunctions linked to the noise.
- Observe and listen carefully to determine the type, intensity, and triggers of the noise for accurate diagnosis.
- Perform routine inspections of belts, hoses, and fittings to ensure all components are secure and properly maintained.
- Seek professional assistance early if the noise persists, providing detailed information to facilitate effective troubleshooting.
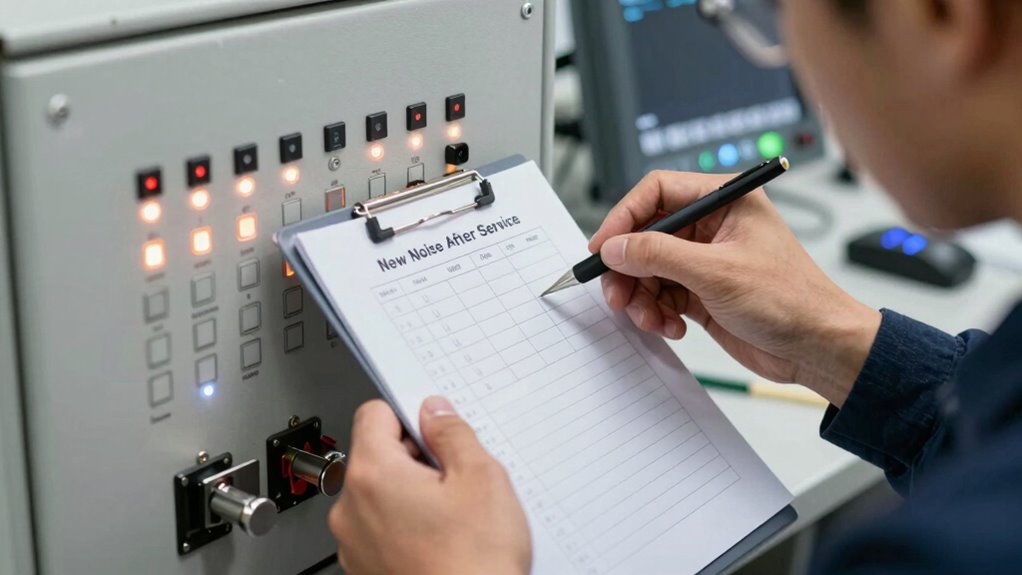
Experiencing a new noise after servicing your vehicle can be concerning, but staying calm and methodical can help identify the issue quickly. First, try to determine when the noise occurs—whether it’s during acceleration, braking, or idling. This can give you clues about the source. Don’t jump to conclusions; instead, focus on a systematic approach. Using diagnostic tools can be invaluable here. Many modern vehicles are equipped with onboard computers that can log error codes, even if the check engine light isn’t on. Connecting a scan tool can reveal hidden issues that might be causing the noise, such as sensor malfunctions or loose components. Keep in mind, some noises are preventable with proper maintenance, so consider whether routine checks could have caught a loose belt, worn bearing, or misaligned part before it became a noise problem.
When you notice a new sound, it’s tempting to ignore it or assume it will go away, but that’s risky. Instead, use your senses—listen carefully, feel for vibrations, and observe if certain actions make the noise louder or softer. If you hear a squeal when braking, it might indicate worn brake pads or a caliper issue. A rattling sound during acceleration could point to a loose exhaust component or a heat shield. Once you’ve identified the general nature of the noise, you can use diagnostic tools to narrow down the problem. Some advanced diagnostic devices even allow you to monitor real-time data, helping you correlate specific noises with engine or transmission performance. Additionally, understanding vehicle maintenance practices can help prevent future issues caused by neglect or improper servicing.
Preventing these issues starts with regular maintenance and inspections. Check for loose or damaged parts, and make sure belts and hoses are in good condition. Properly torqued bolts and secure fittings reduce the risk of vibrations and noises after service. If you’re unsure about how to perform these checks, consult your vehicle’s manual or a professional mechanic. Remember, early detection can save you money and prevent further damage. After servicing, a quick test drive can help confirm whether the issue persists or if it was a one-time anomaly. If the noise continues, don’t delay visiting the mechanic. Providing them with as much detail as possible—when the noise occurs, how it sounds, and what actions trigger it—will help expedite repairs.
As an affiliate, we earn on qualifying purchases.
Frequently Asked Questions
How Often Should I Perform the New Noise After Service Checklist?
You should perform the “New Noise After Service” Checklist after every maintenance session, ensuring the inspection frequency aligns with your maintenance schedule. Regularly checking for new noises helps catch issues early and maintains ideal performance. It’s best to do this inspection after each service or at recommended intervals specified in your maintenance plan. Consistent checks will keep your equipment running smoothly and prevent costly repairs down the line.
What Tools Are Necessary to Complete the Checklist Effectively?
Imagine the peace of mind you gain when every detail is checked. To complete the checklist effectively, you need diagnostic equipment like stethoscopes or electronic analyzers and safety gear such as gloves and goggles. These tools guarantee accuracy and your safety. Keep your tools organized and ready, so each inspection is thorough and confident, turning a routine task into a reliable safeguard for your work and peace of mind.
Can I Troubleshoot New Noises Myself or Should I Call a Professional?
You can try some DIY tips to troubleshoot new noises, but if you’re unsure or the problem persists, it’s best to seek professional assistance. Listening carefully to identify the source of the noise and checking common areas can help you determine if it’s a simple fix. However, for complex issues or if you’re uncomfortable, calling a professional guarantees safety and proper resolution. Don’t hesitate to get expert help when needed.
What Are Common Causes of New Noises After Servicing?
You might notice new noises after servicing due to vibration issues or loose fittings. Vibration issues occur when parts aren’t properly secured, causing rattling or humming sounds. Loose fittings can also lead to noise, as components shift or vibrate during operation. Check for any visibly loose connections or fittings, but if you’re unsure or the noise persists, it’s best to call a professional to prevent further damage.
How Long Does It Typically Take to Complete the Checklist?
The checklist typically takes about 30 to 60 minutes, like a quick pit stop during a road trip. Your timing expectations depend on the complexity of the service and how thoroughly the technician works through each step. The checklist duration includes inspecting, testing, and adjusting components to make certain everything runs smoothly. Staying patient guarantees all issues are addressed properly, leaving you with a quiet, reliable vehicle afterward.
As an affiliate, we earn on qualifying purchases.
Conclusion
So, next time your vehicle’s suddenly noisier after service, don’t jump to conclusions. Maybe, just maybe, that new noise is your car’s way of saying it’s happy to see you—or perhaps it’s protesting the “improved” tune-up. Irony has a way of turning minor annoyances into major mysteries. Keep this checklist handy, and you might just outsmart the noise before it outsmarts you. After all, a little detective work keeps your ride running smoothly—and your patience intact.
As an affiliate, we earn on qualifying purchases.
As an affiliate, we earn on qualifying purchases.
Fall Picks
fall essentials
As an affiliate, we earn on qualifying purchases.